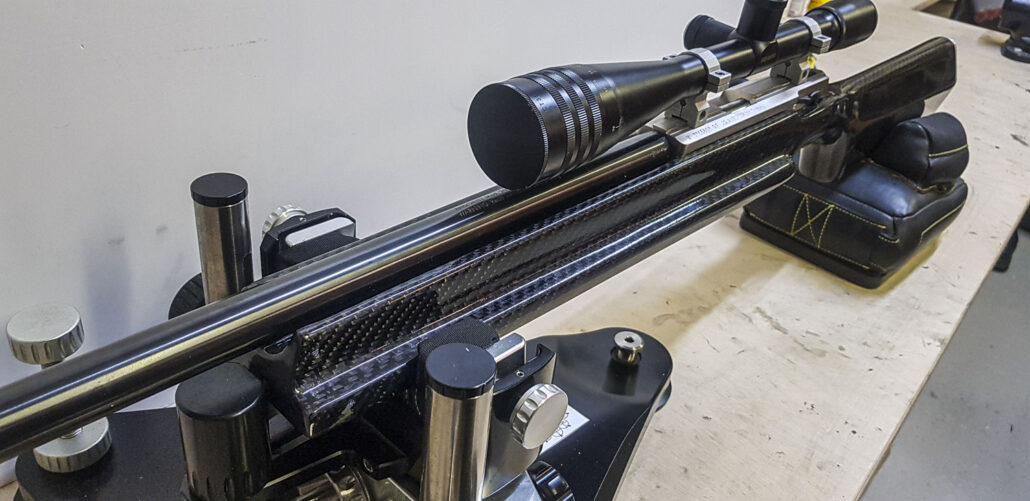
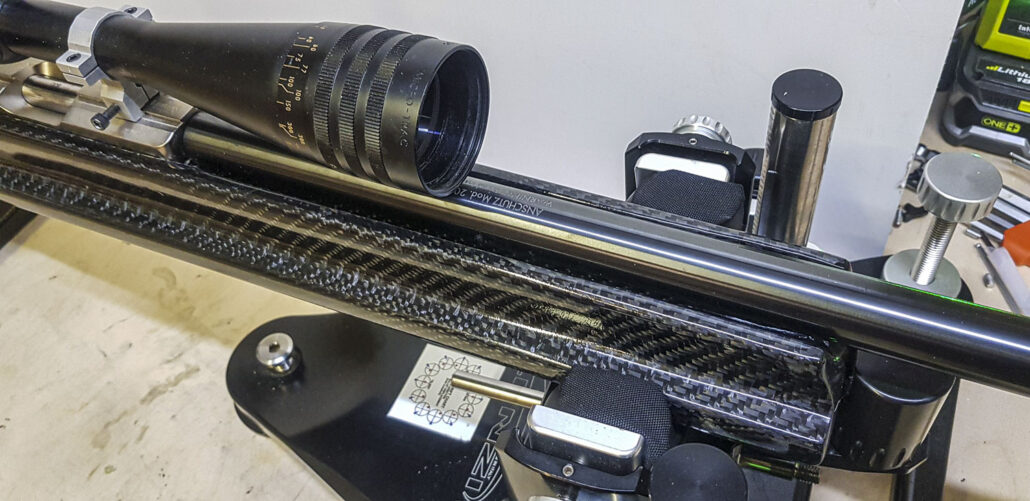
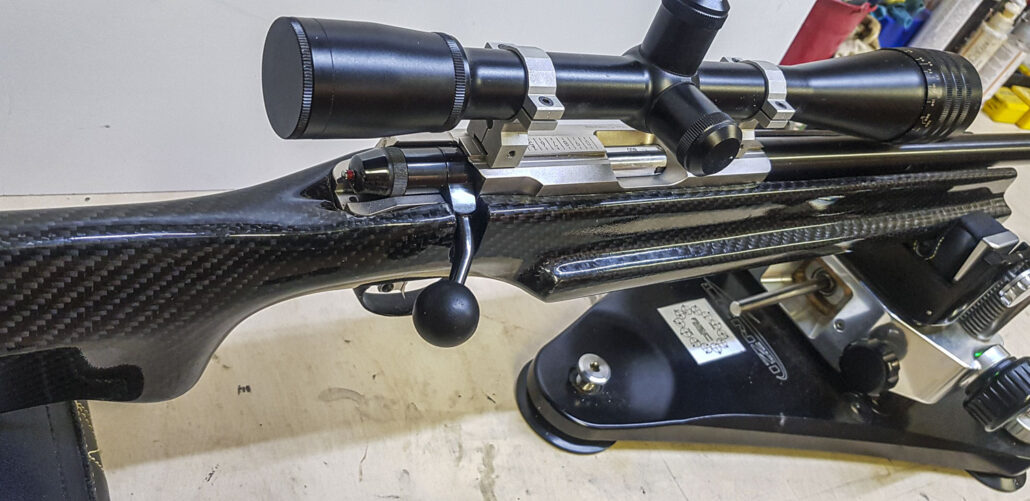
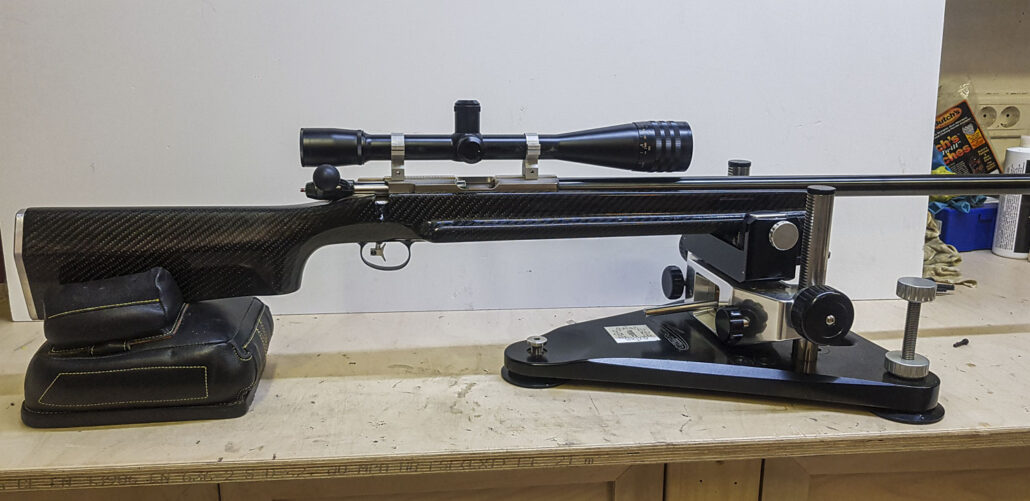
Carbon skinning a McMillan Edge stock
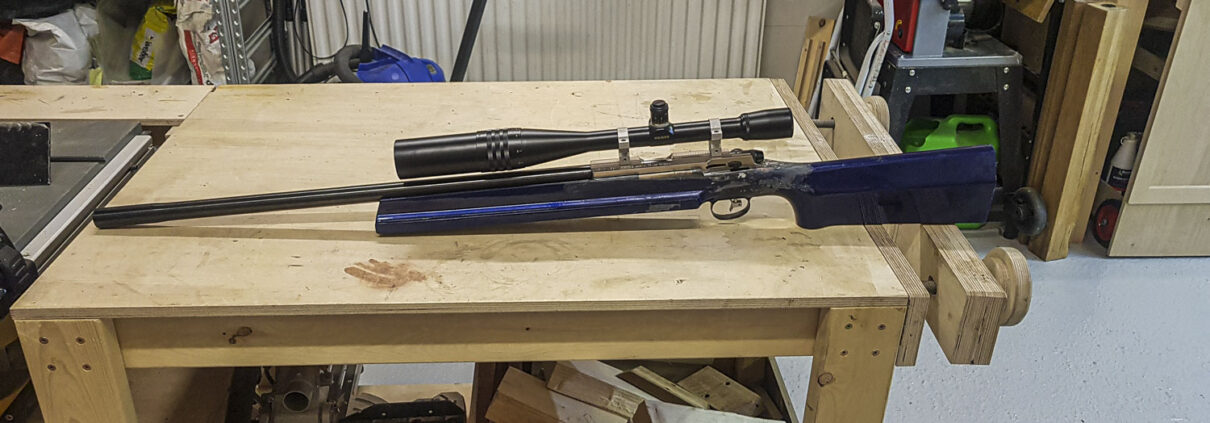
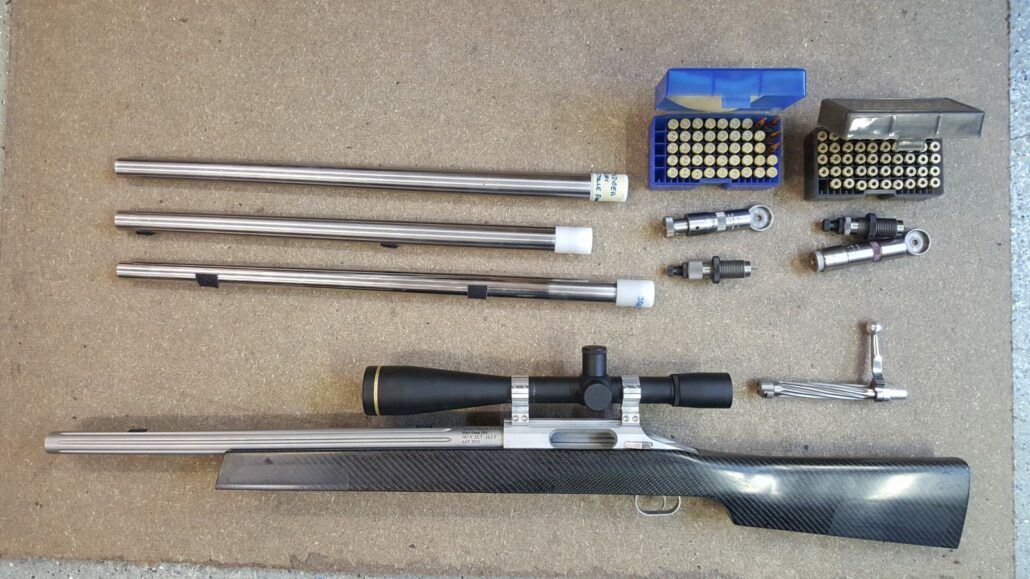
Some years ago I bought a used McMillan Edge rifle stock. My intention at the time was to use it for my old Stolle Panda action. That did not happen as I sold that action in a stock I made from wood and skinned with Carbon fiber and Epoxy.
So when I bought a 2013 Anschutz BR 50 action (J.G. ANSCHÜTZ GmbH & Co. KG) from a friend I thought it might be possible to fit this action to the McMillan Edge stock.? I had already routed out the stock to be fitted for the Stolle Panda so it was not much I needed to remove, though the 2013-BR-50 action is a bit longer than the Panda.
The biggest problem was the rear of the BR-50 action, and the big trigger ( which is a great trigger by the way.) and I had to fill up some parts that were originally cut from the stock. I had to make a new slot for the bolt handle.
-
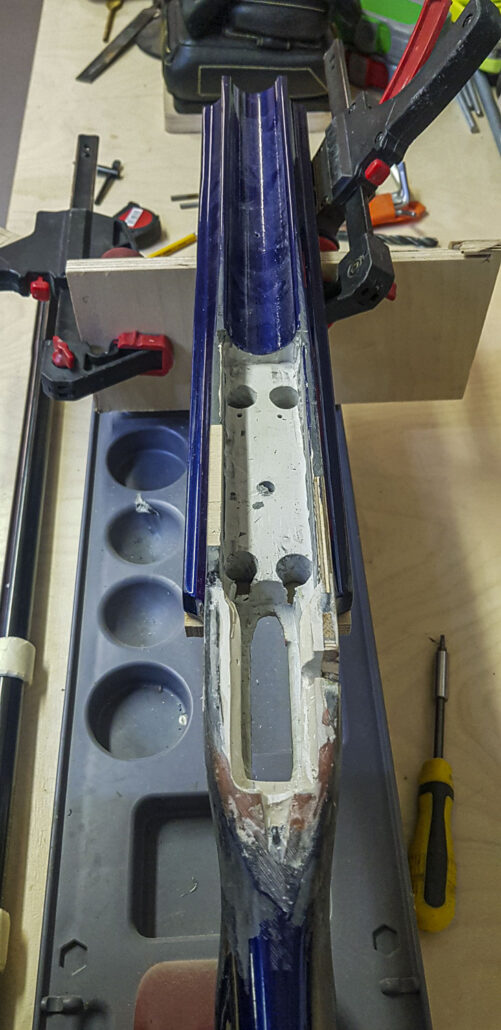
ANSCHÜTZ 2013 -BR-50 McMillan Edge -
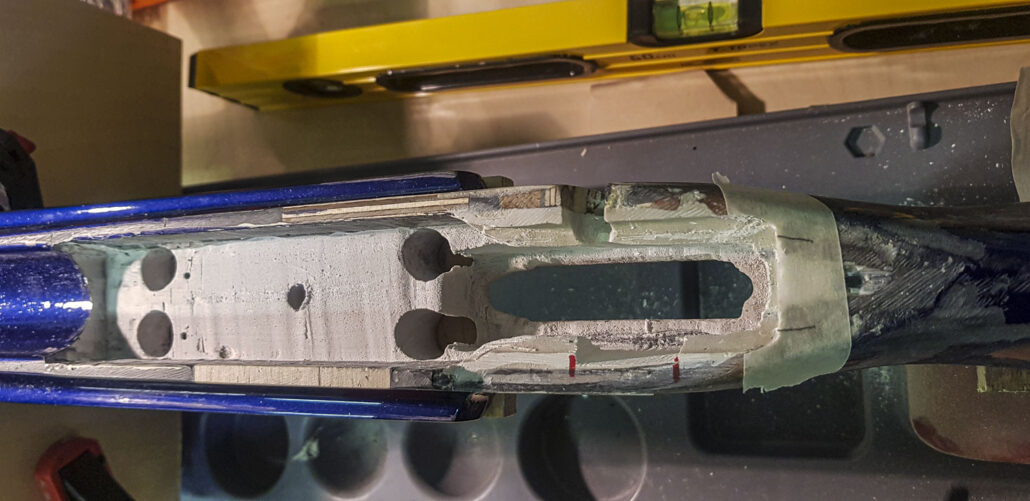
inlaying a ANSCHÜTZ 2013 -BR-50 McMillan Edge -
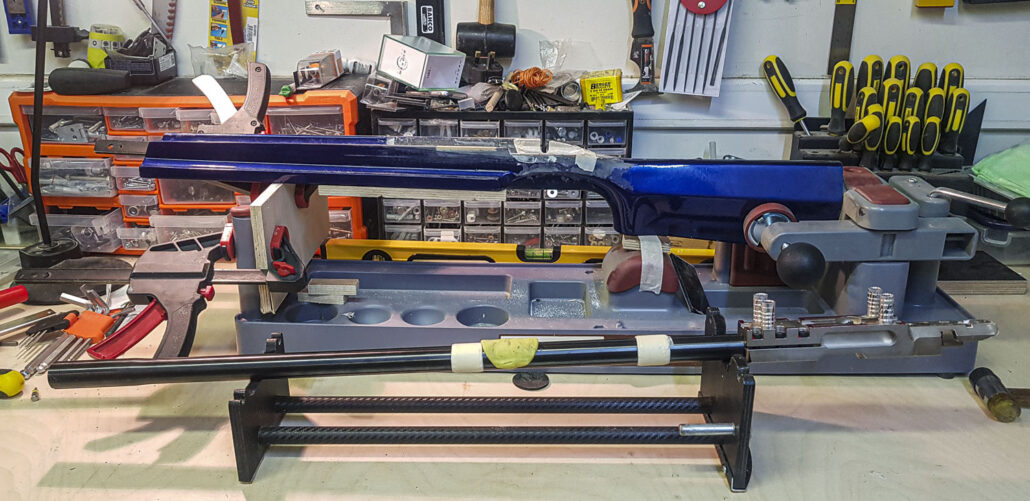
ANSCHÜTZ 2013 -BR-50 McMillan Edge
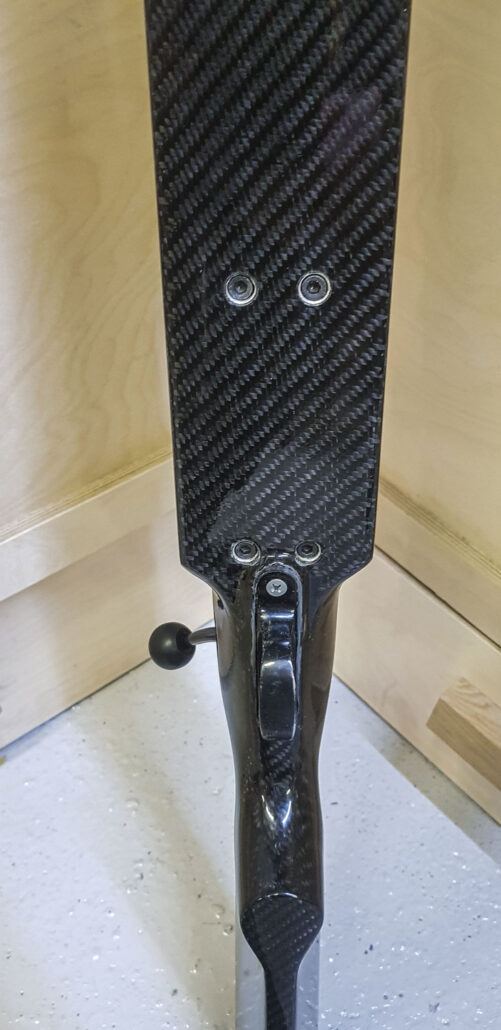
A lot had to be cut from the stock to fit the trigger and I saw that I would have some problems with the trigger guard and the screws under the trigger. I had an old trigger guard from another McMillan stock. I could fit that guard with some modifications under the stock but I need to make a new one opening in the back of the guard.
Bedding.
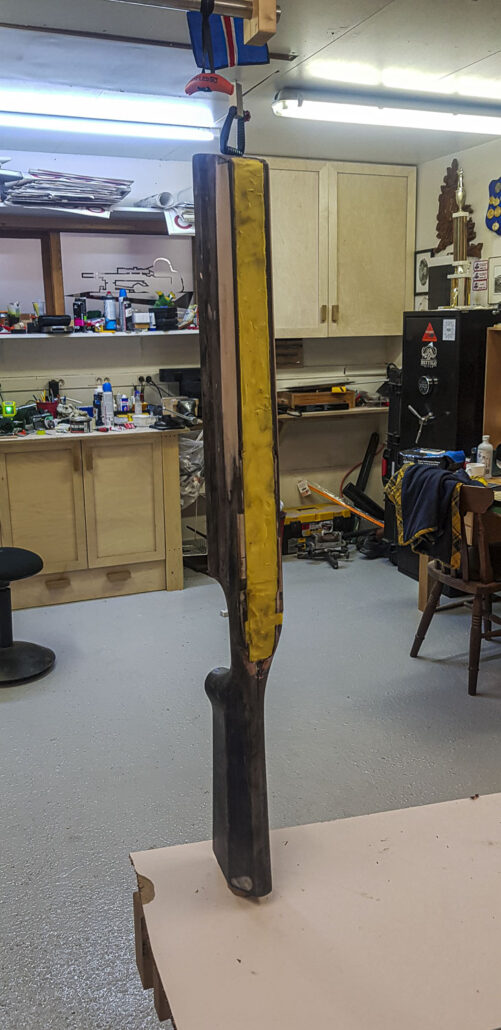
For bedding I used Marintex and some car wax I had ( mistake) should have used shoe shine wax. This ANSCHÜTZ 2013 -BR-50 action is a little difficult to make good bedding on, it has many holes and slots which need to be filled prior to bedding. Using modelling clay I filled these holes but I needed to be sure that the clay would be flat to the surface on the action so it would not stick in the stock. A dark clay would probably have been better to see the small uneven surface of the clay visible after removing the action after bedding. I had some pillars made from aluminum and I screwed a plate under the stock to make the pillar rest on. This gave me the exact high I was looking for and the correct amount of bedding material under the action I was looking for.
-
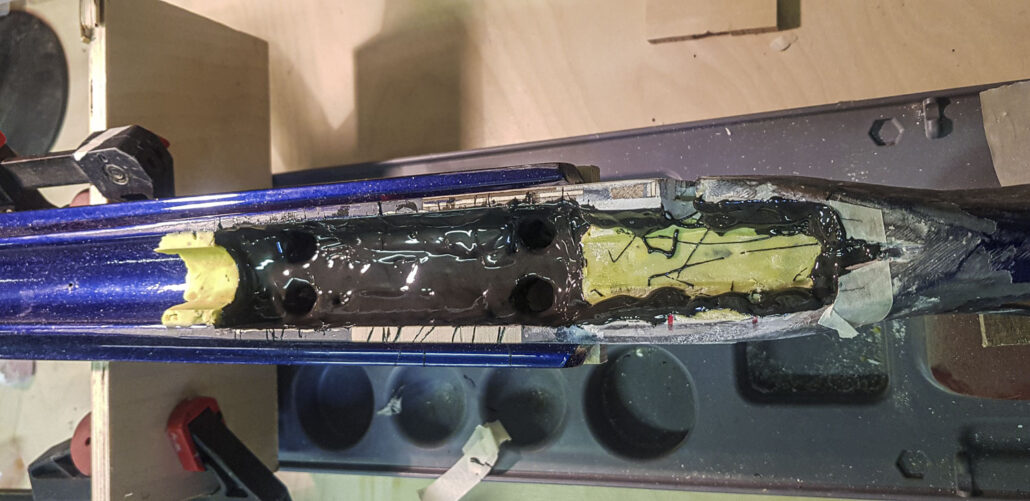
Bedding material -
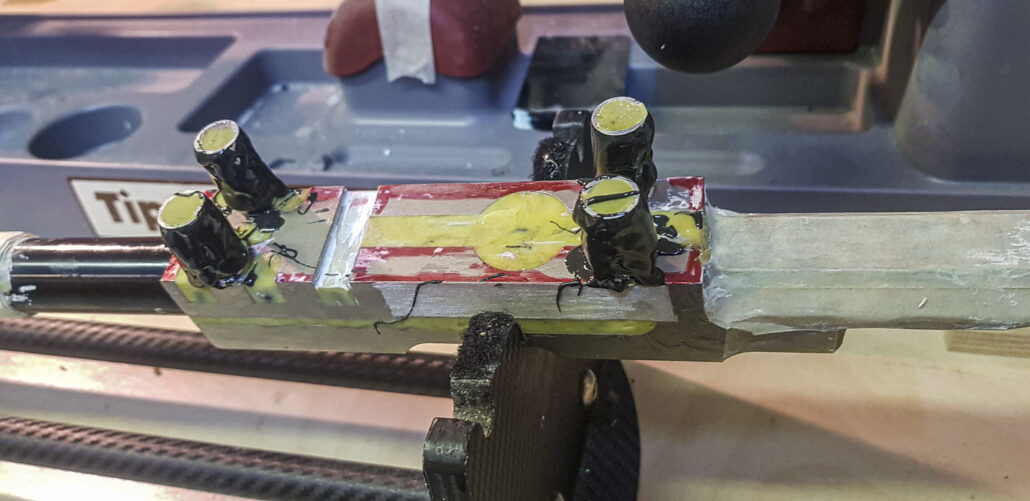
ANSCHÜTZ 2013 -BR-50 McMillan Edge pillar bedding
Bedding an ANSCHÜTZ 2013 -BR-50 action is different from regular actions for two reasons, one is the holes and slots in the action, the other is the 4 screws holding the action. This makes the bedding a little difficult especially if one is not doing bedding on a regular basis as I´m not. My mistake in the bedding was not to put enough material where the reverse recoil lug is in the action. Result, not 100% contact for the lug and not so good looking bedding, but I will possibly need to re bed later on. Lets see how it shoots first?
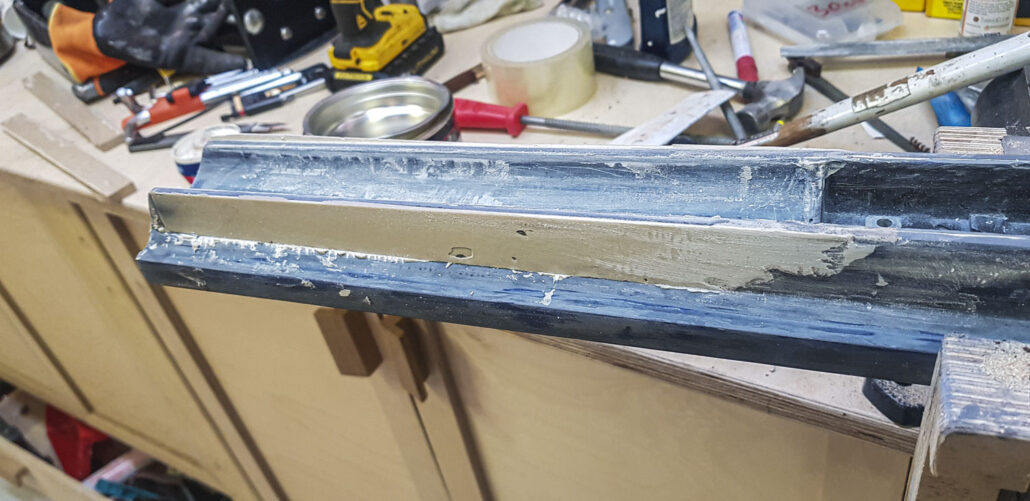
I decided to make the stock a little more straight on the for end as it had some curve in it .
Skinning.
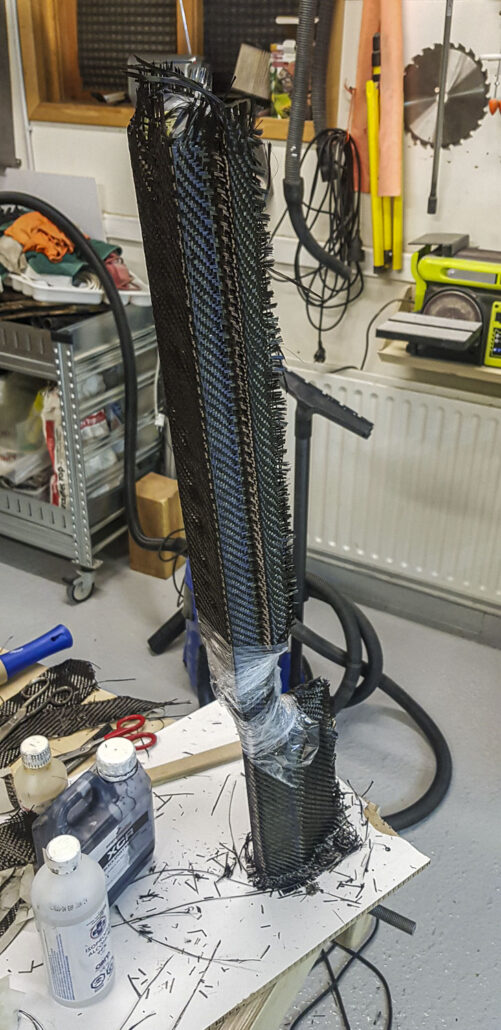
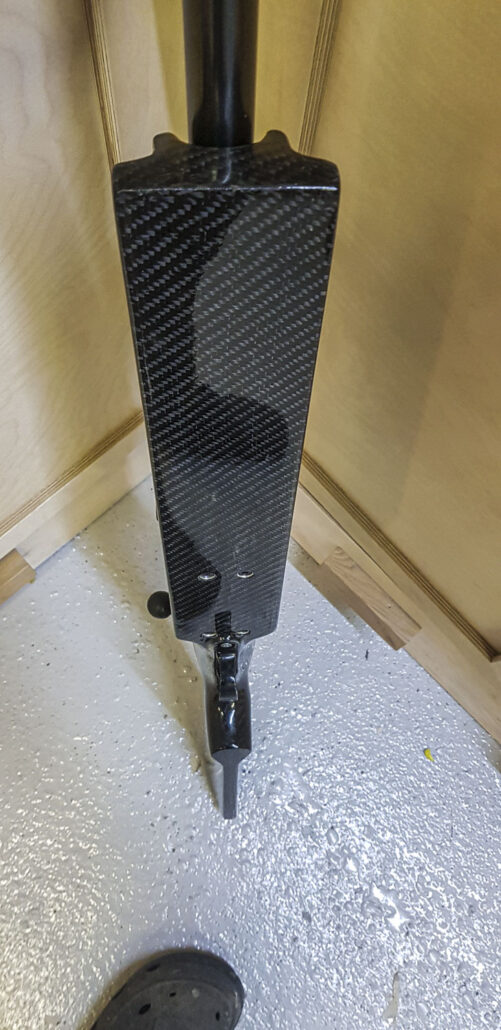
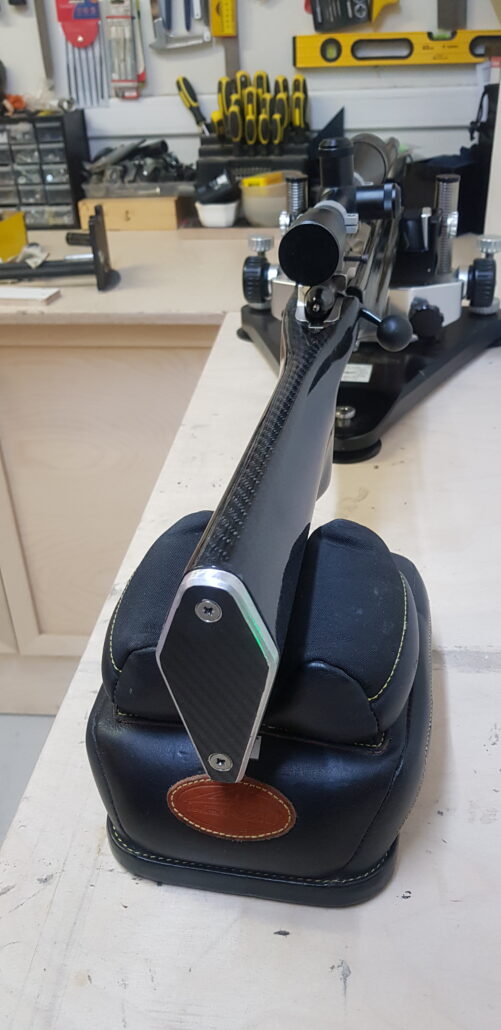
I have done skinning before but I knew skinning a Edge stock would be different because I would not have a corner to break the carbon on. and the pistol grip would be in a way a bit, I decided to start from the top and make the flat underneath last and make the connection on the front of the pistol grip.
The biggest mistake.
Cutting the carbon is best done by tape a line on the material bigger than you need and then use scissors to cut down the middle of the tape. I did that and marked on the tape where the middle of the tape would be.
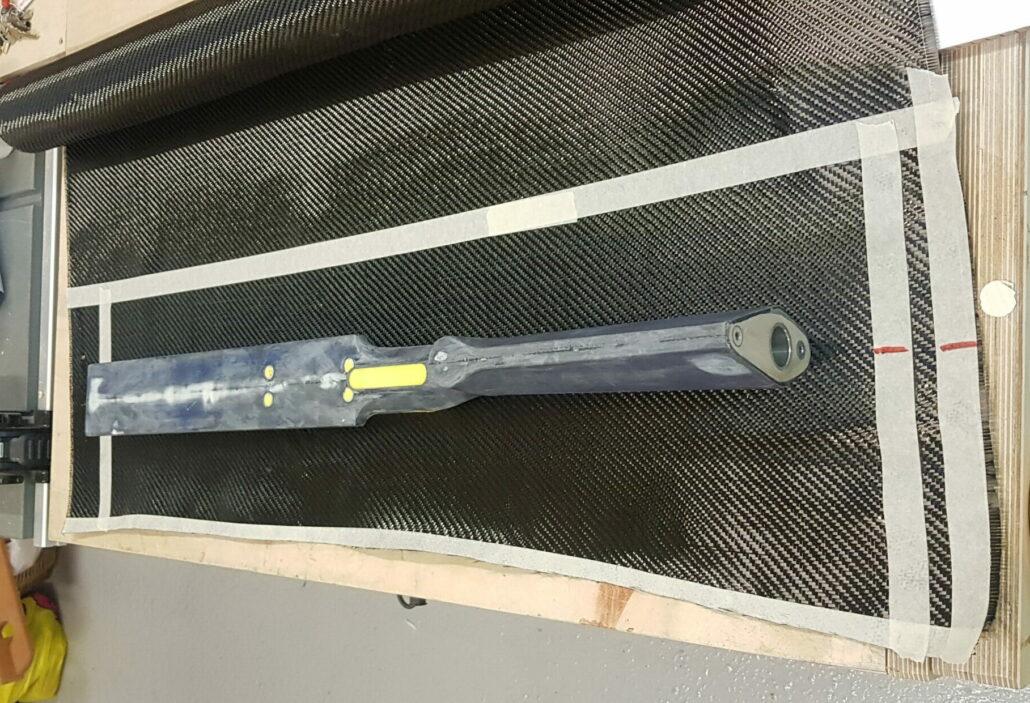
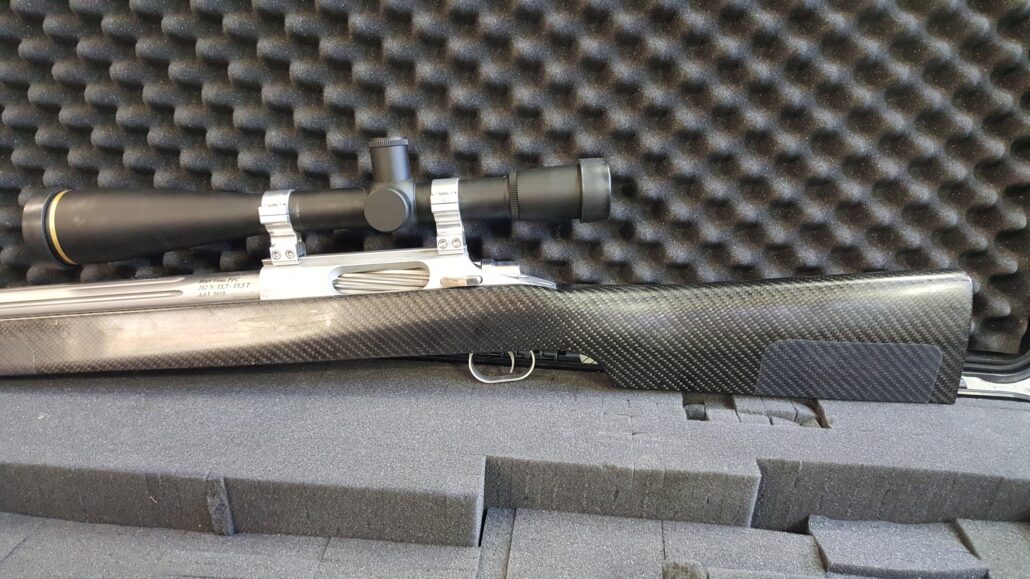
With this method of skinning you mix a black epoxy and paint it on the stock and let it sit for 2 hours before you apply the carbon. I did exactly that and all looked good until I forgot to turn the tape towards me instead towards the stock, I wrapped the stock perfectly and it looked fine but then I saw that the tape was trapped between the stock and carbon, not good. I had to remove the carbon and by doing so it gets ruined and can not be used so I had to cut a new one and hoped enough epoxy would still remain on the stock to glue the second carbon. I tried this and it looked OK but I later found out that on 2 places on the stock there were some spots out of epoxy which turned out to be very difficult to fix. I should have just waited 24 hours and sand the black epoxy off and start again.
Finish
I painted 3 layers of Miopa Lacquer on top of the epoxy.

